

Admin-UI-Guide
Die Admin-Oberfläche unter /admin bietet eine webbasierte Management-UI für Vorlagen,
Artefakte, Anmeldeinformationen und OnlyOffice-Instanzen. Es ist eine Vue 3 + Element Plus
Single-Page-Applikation, die direkt vom MCP-Server auf Port 3847 bereitgestellt wird.
Zugriff und Authentifizierung
Abschnitt betitelt „Zugriff und Authentifizierung“-
Zur Admin-URL navigieren
Öffnen Sie
http://your-host:3847/adminin Ihrem Browser. -
Admin-Passwort eingeben
Das Passwort wird über die
ADMIN_PASSWORD-Umgebungsvariable gesetzt. Falls nicht gesetzt, gibt die Admin-UI HTTP 503 zurück.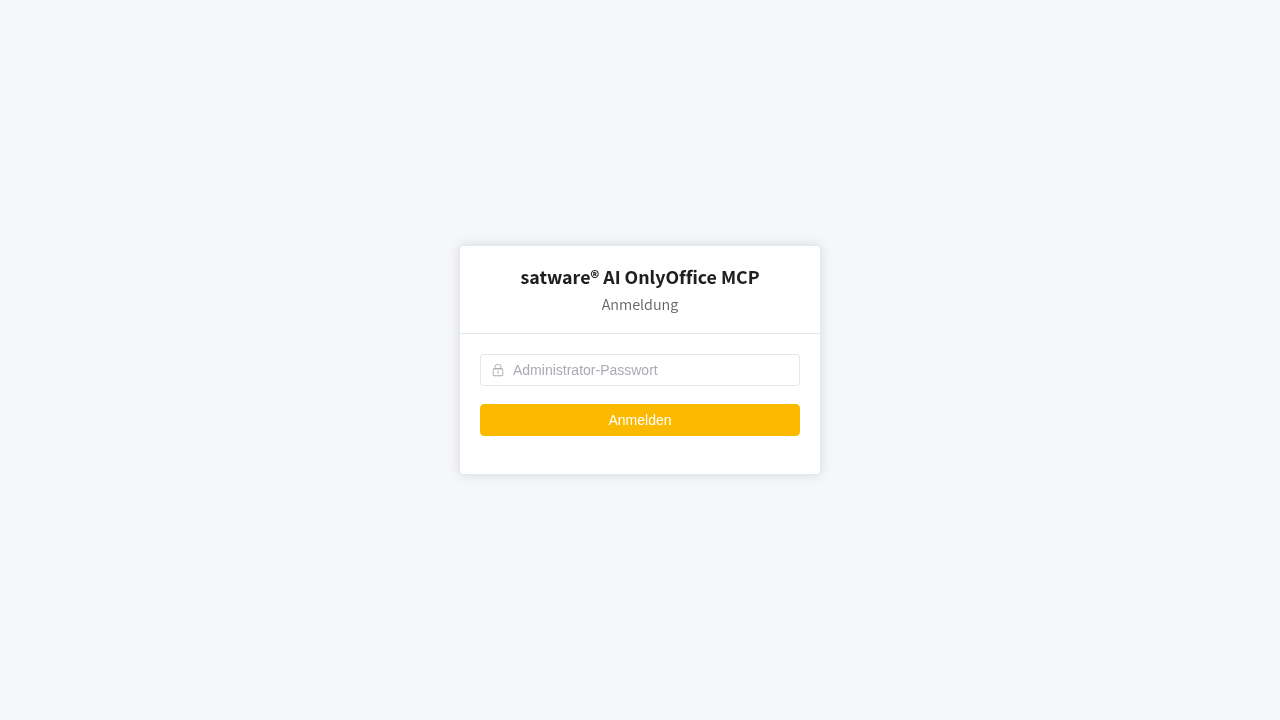
-
Verwaltung beginnen
Nach dem Login erhalten Sie ein HMAC-SHA256-signiertes Session-Cookie (8h-Lebensdauer).
Vorlagen-Tab
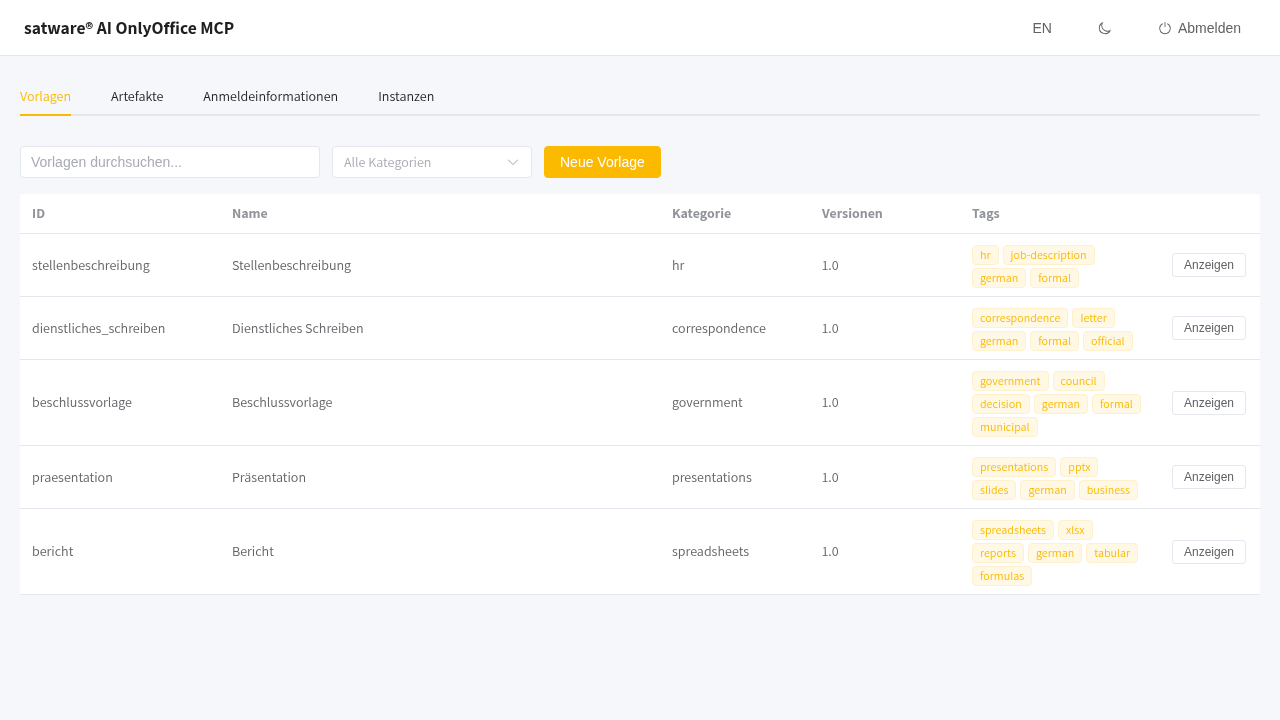
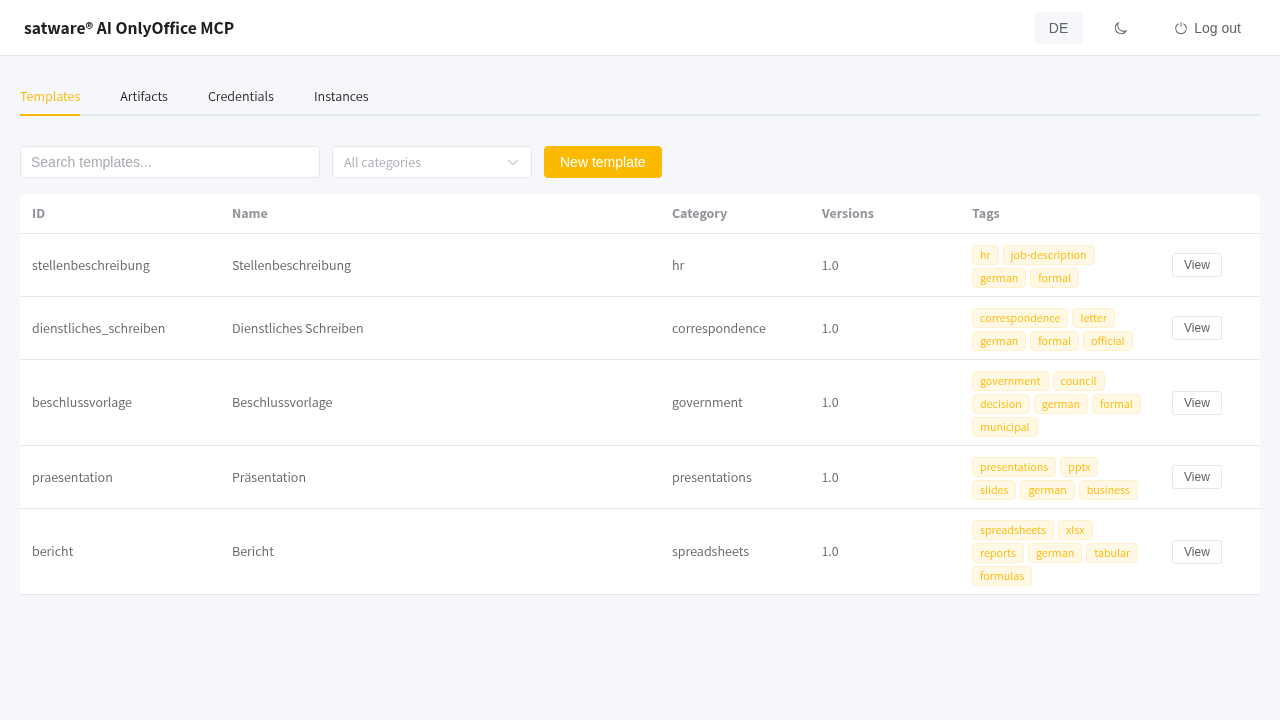
Abschnitt betitelt „Vorlagen-Tab“Der Vorlagen-Tab ist die Standardansicht nach dem Login. Er listet alle registrierten Vorlagen mit Suche und Kategorie-Filter auf.
Vorlagen-Detail
Abschnitt betitelt „Vorlagen-Detail“Klicken Sie Anzeigen auf einer beliebigen Vorlagen-Zeile, um die Detail-Drawer zu öffnen:
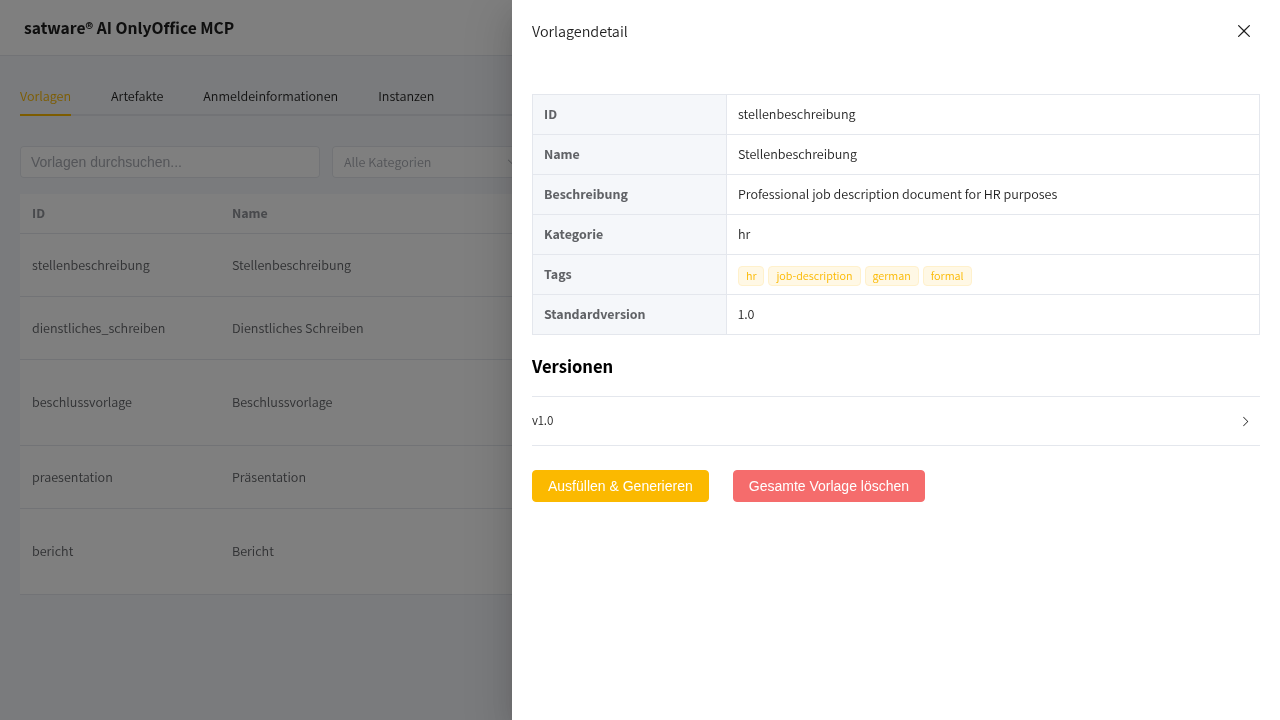
Die Drawer zeigt:
- Metadaten: ID, Name, Beschreibung, Kategorie, Tags, Standard-Version
- Versionen: Erweiterbare Liste. Jede Version zeigt Vorlagen-Datei, Ausgabeformat, erforderliche/optionale Felder, Erstellungsdatum und Pfad.
- Aktionen: Ausfüllen & Generieren (öffnet den Generierungs-Dialog), gesamte Vorlage löschen
Vorlage erstellen
Abschnitt betitelt „Vorlage erstellen“Klicken Sie Neue Vorlage, um den Erstellen-Dialog zu öffnen:
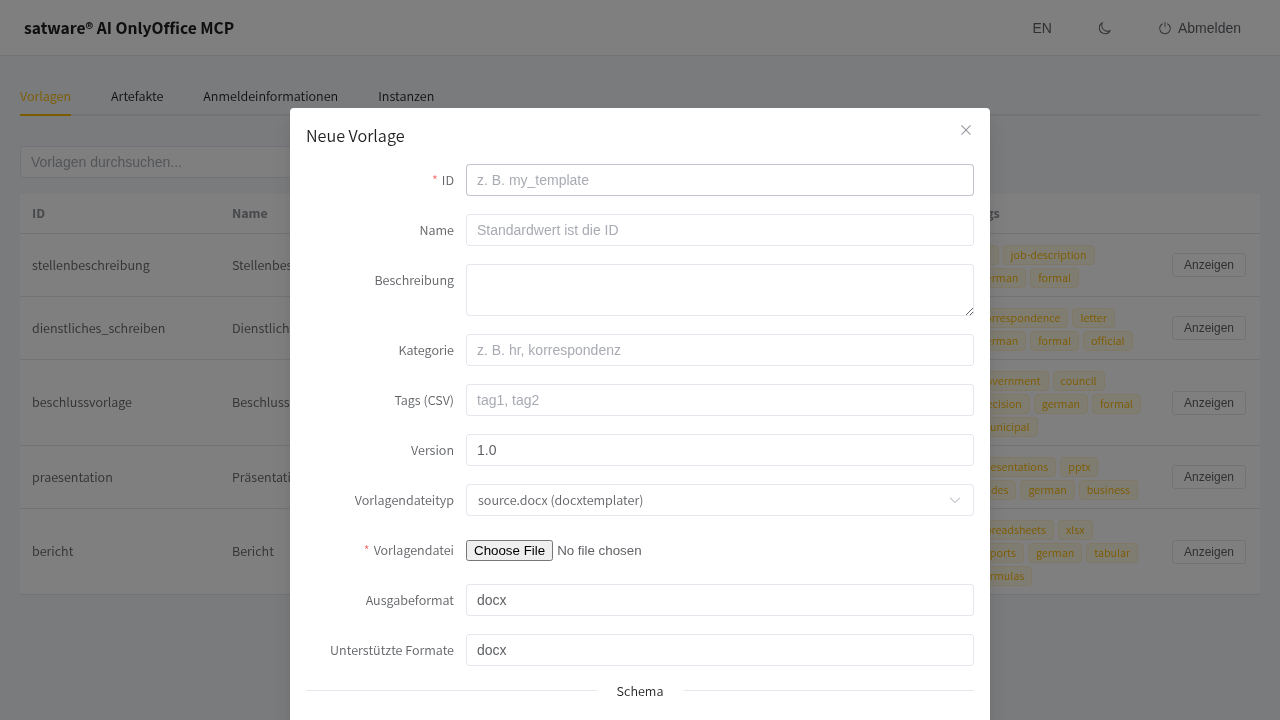
Die Formularfelder:
| Feld | Beschreibung |
|---|---|
| ID | Eindeutiger Vorlagen-Bezeichner (z.B. my_template) |
| Name | Anzeigename (Standard: ID) |
| Beschreibung | Freitext-Beschreibung |
| Kategorie | Klassifizierung (z.B. hr, correspondence) |
| Tags (CSV) | Komma-getrennte Tags |
| Version | Semantische Version (Standard: 1.0) |
| Vorlagen-Dateityp | source.docx (docxtemplater) oder template.docbuilder (Skript) |
| Vorlagen-Datei | Vorlagen-Datei hochladen |
| Ausgabeformat | Primäres Format (z.B. docx) |
| Unterstützte Formate | Alle Exportformate (z.B. docx, pdf) |
Schema-Definition
Abschnitt betitelt „Schema-Definition“Der Schema-Abschnitt bietet drei Eingabemodi:
- schema.json hochladen: Bereits geschriebene JSON-Schema-Datei bereitstellen
- Aus DOCX extrahieren:
.docxmit{{Platzhaltern}}hochladen zur Auto-Generierung - Baum-Editor / JSON-Code: Schema interaktiv aufbauen
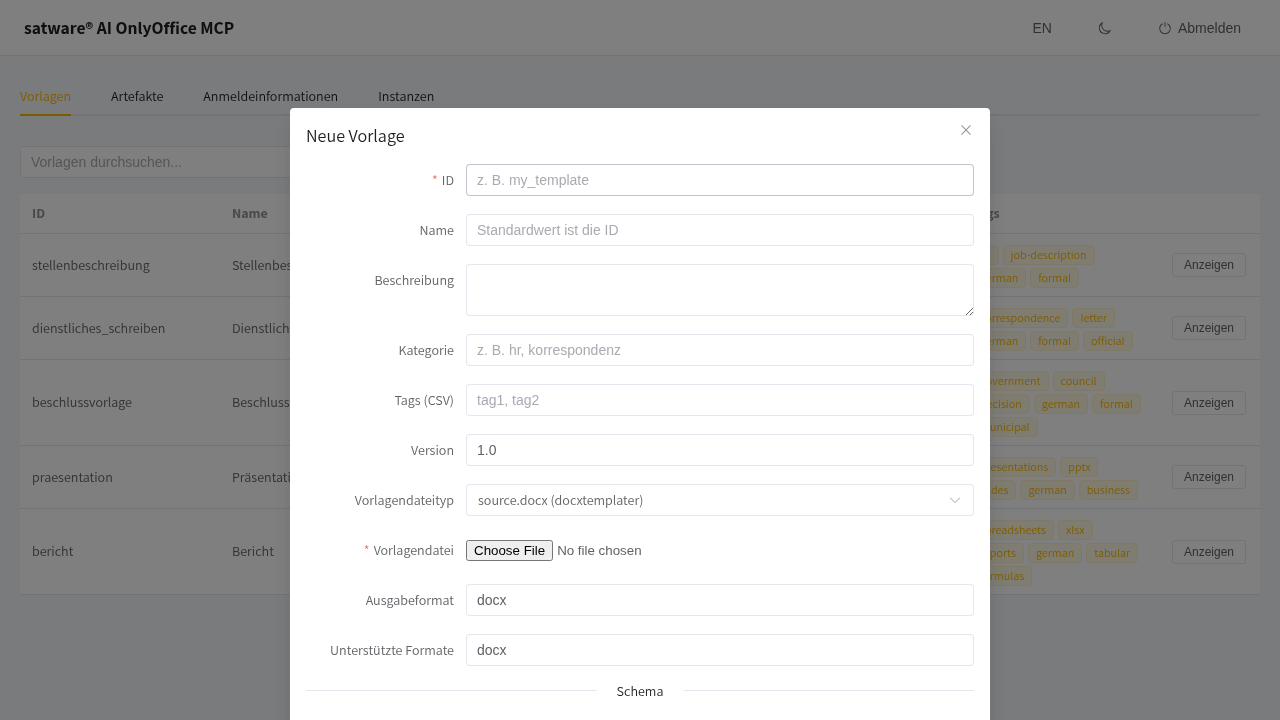
Der Baum-Editor lässt Sie Eigenschaften hinzufügen, Typen setzen (string, number, integer, boolean, object, array), Felder als erforderlich markieren und Constraints definieren (Format, Enum, Standardwert).
Ausfüllen und Generieren
Abschnitt betitelt „Ausfüllen und Generieren“Klicken Sie in der Vorlagen-Detail-Drawer auf Ausfuellen & Generieren, um den Generierungs-Dialog zu öffnen:
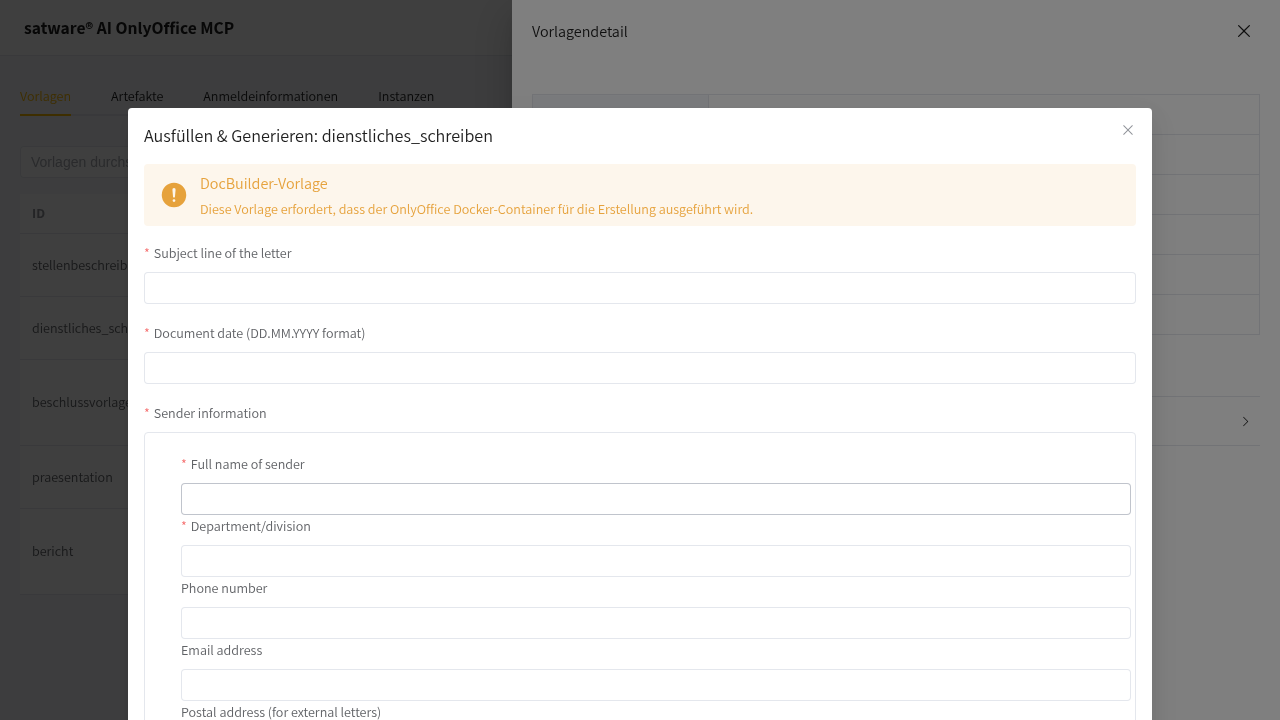
Die Formularfelder werden dynamisch aus dem JSON-Schema der Vorlage gerendert. Füllen Sie die Werte aus und klicken Sie auf Dokument generieren. Der Server verarbeitet die Anfrage und stellt einen Download-Link bereit, sobald sie abgeschlossen ist.
Artefakte-Tab
Abschnitt betitelt „Artefakte-Tab“Der Artefakte-Tab listet alle generierten Dokumentartefakte auf.
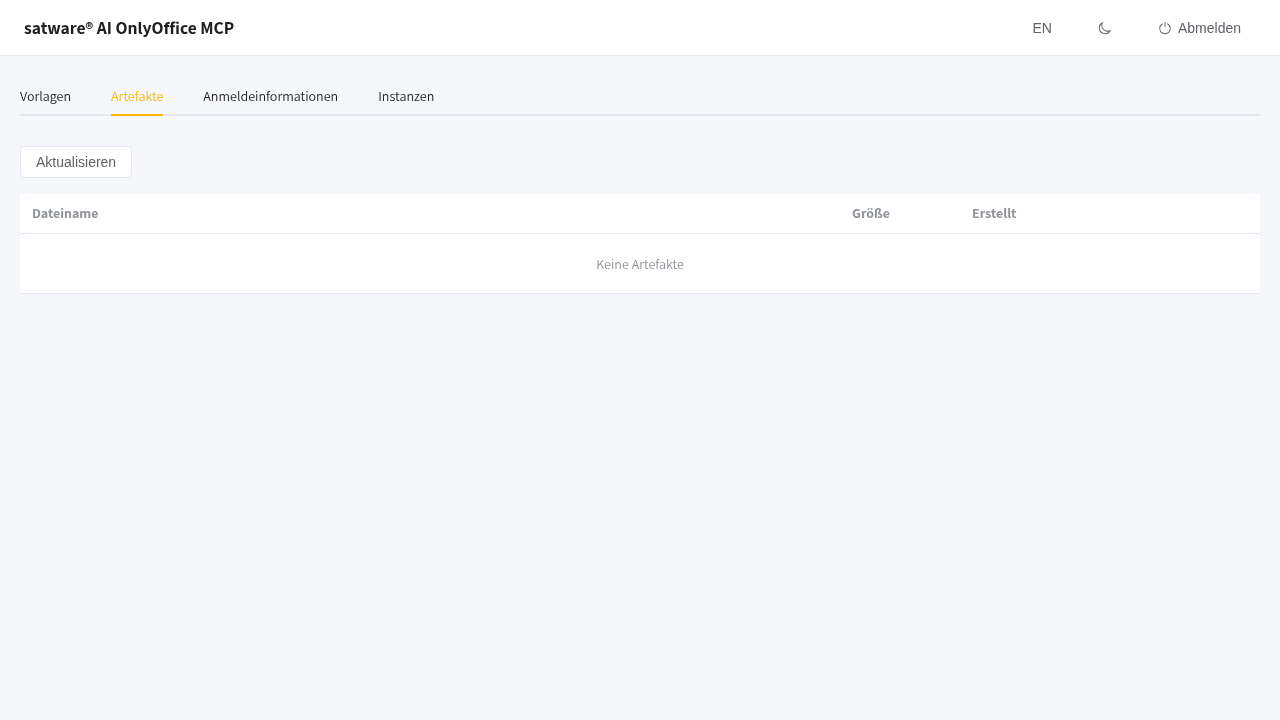
Jedes Artefakt zeigt Dateiname, Größe und Erstellungs-Zeitstempel. Klicken Sie auf das Lösch-Icon, um ein Artefakt zu entfernen.
Anmeldeinformationen-Tab
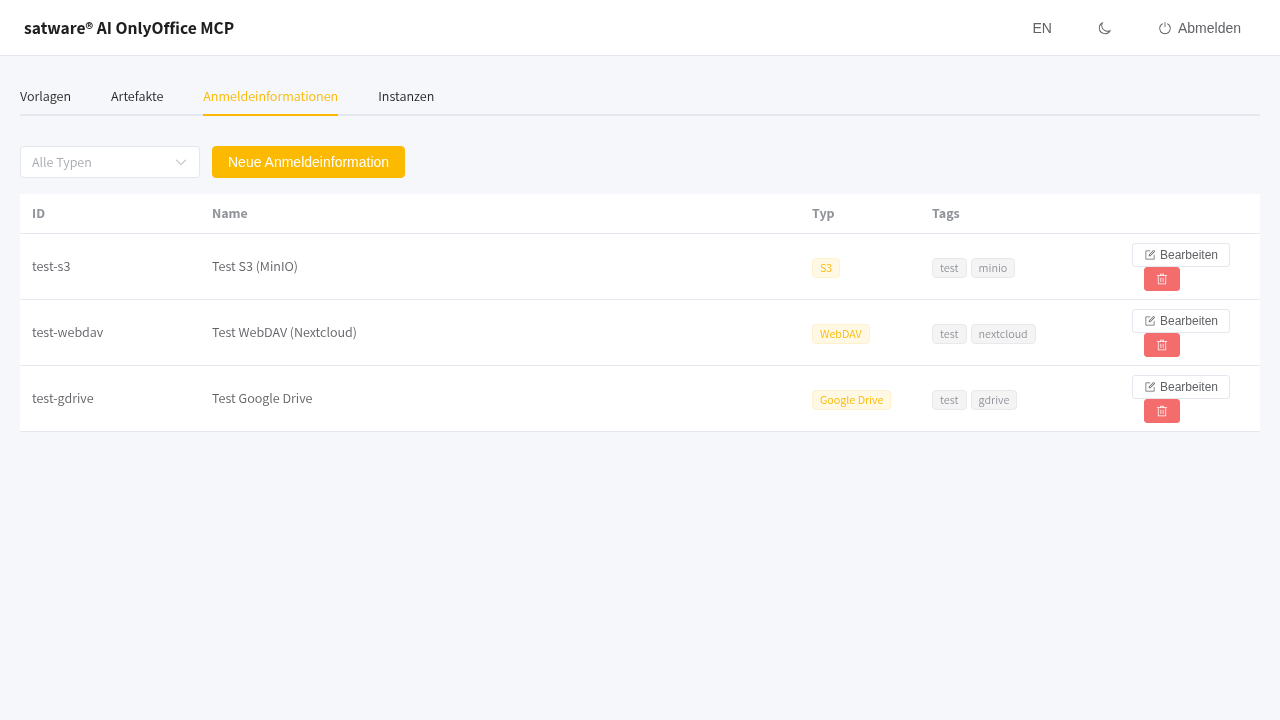
Abschnitt betitelt „Anmeldeinformationen-Tab“Der Anmeldeinformationen-Tab verwaltet verschlüsselte Cloud-Speicher-Anmeldeinformationen. Anmeldeinformationen werden im Ruhezustand AES-256-GCM verschlüsselt.
Anmeldeinformation erstellen
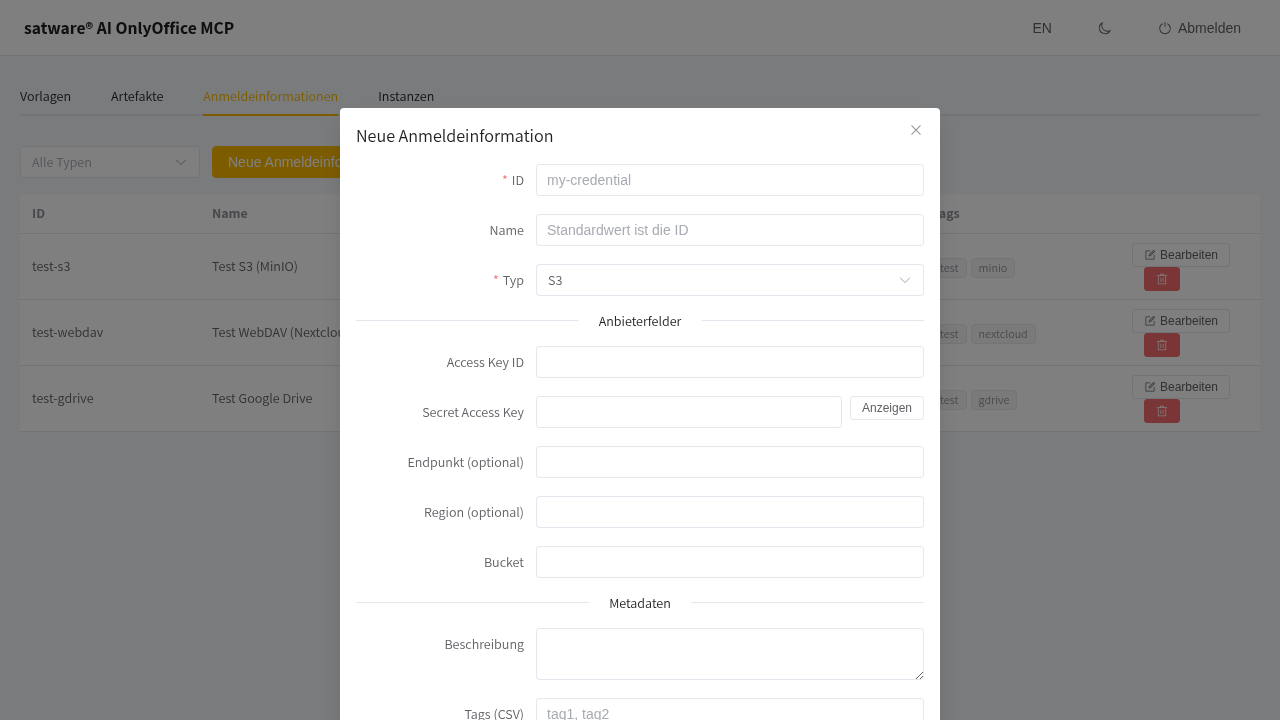
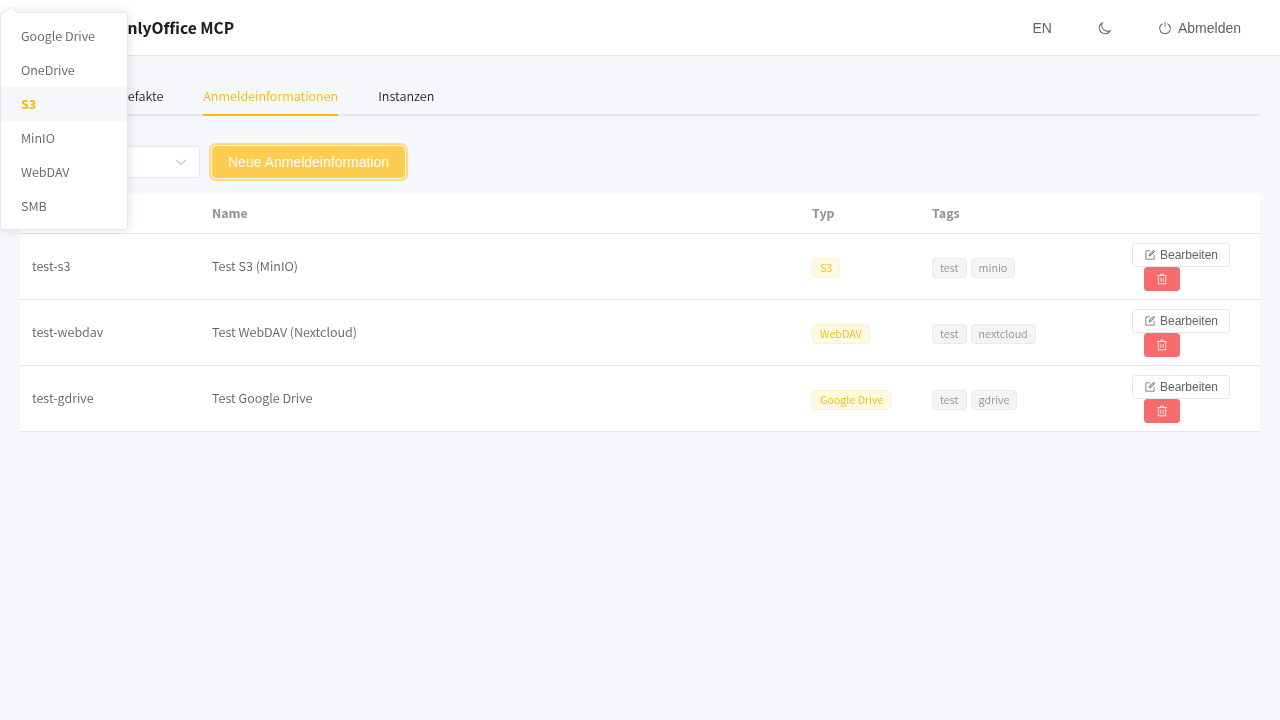
Abschnitt betitelt „Anmeldeinformation erstellen“Klicken Sie Neue Anmeldeinformation und wählen Sie einen Anbieter-Typ. Jeder Anbieter hat unterschiedliche erforderliche Felder:
Erfordert: Client ID, Client Secret, Refresh Token (OAuth2-Flow).
Erfordert: Access Key ID, Secret Access Key, Bucket. Optional: Endpoint, Region.
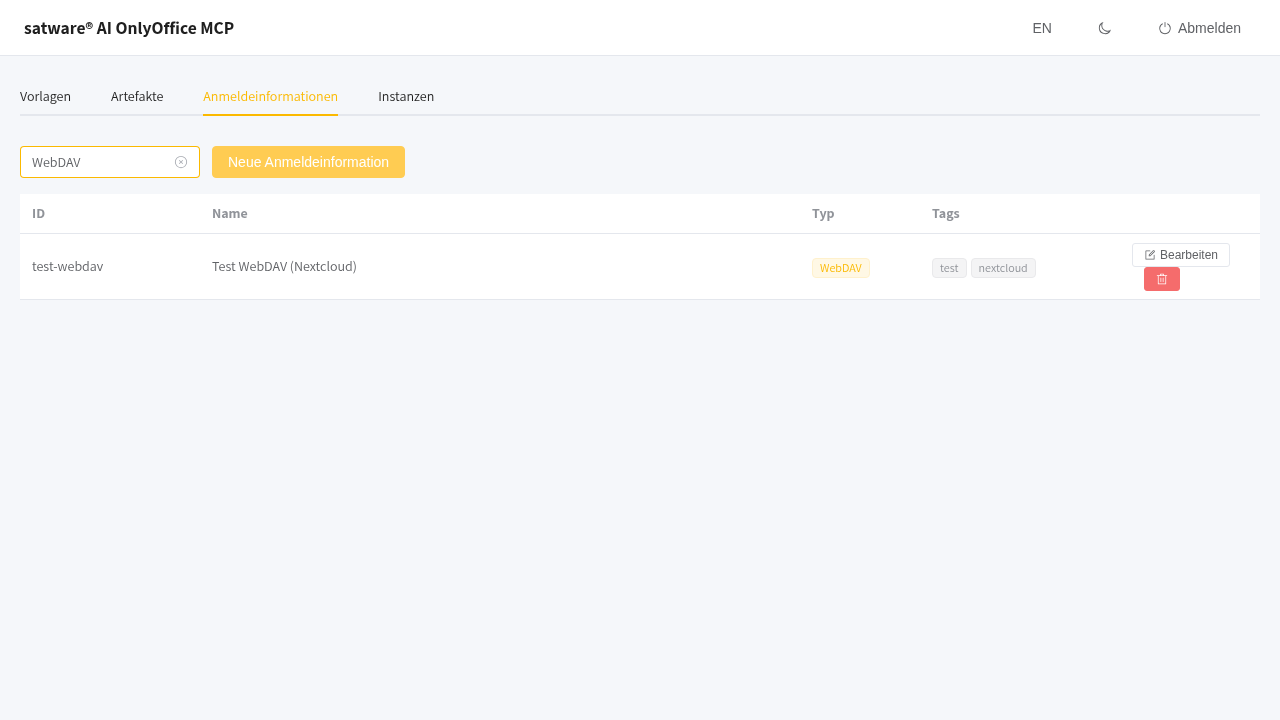
Erfordert: URL. Auth-Typ: None, Password, Digest, Token. Optional: Username, Password.
Geheim-Felder (Passwörter, Token) werden mit einem Ein-/Ausblenden-Umschalter maskiert. Der Anbieter-Typ kann nach der Erstellung nicht geändert werden.
Instanzen-Tab
Abschnitt betitelt „Instanzen-Tab“Der Instanzen-Tab verwaltet OnlyOffice Document Server-Instanzen.
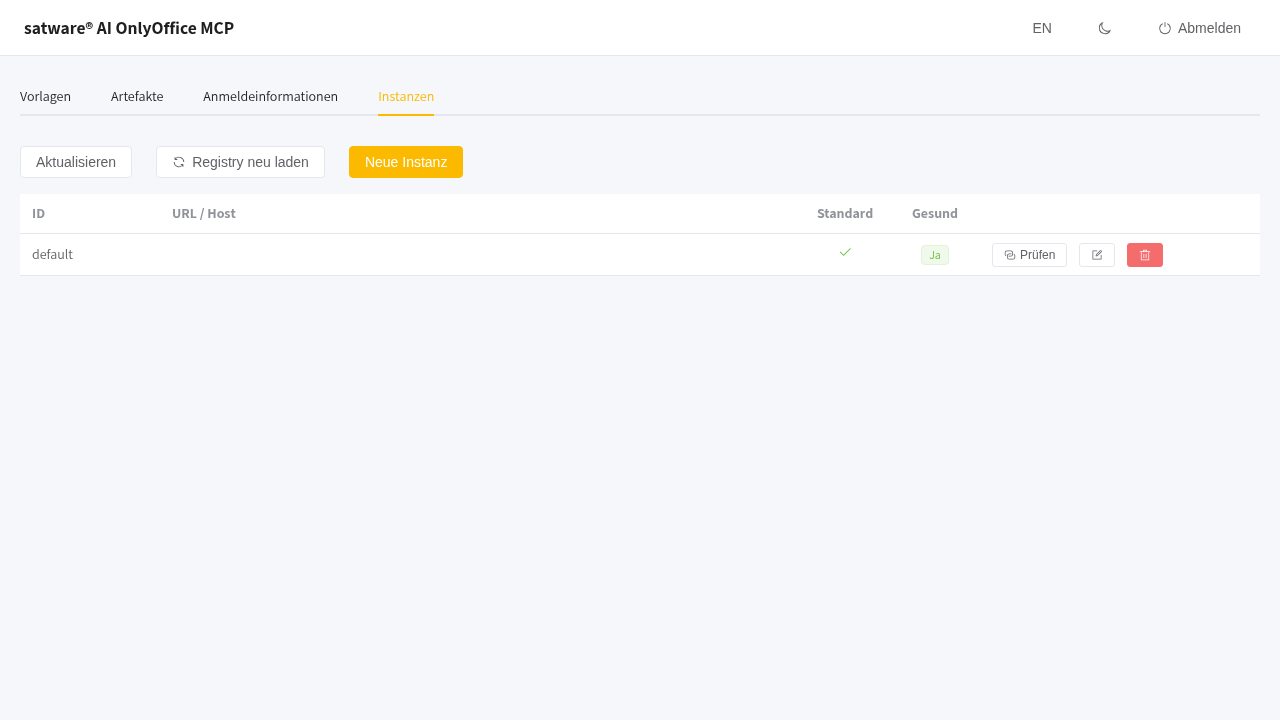
Jede Instanz zeigt:
- ID: Eindeutiger Bezeichner
- URL / Host: Verbindungs-Endpunkt
- Standard: Grünes Häkchen, wenn dies die Standard-Instanz ist
- Gesund: Gesundheitsstatus (Ja/Nein)
Aktionsschaltflächen: Prufen (Gesundheit prüfen), Als Standard festlegen, Bearbeiten, Löschen.
Instanz erstellen
Abschnitt betitelt „Instanz erstellen“Klicken Sie Neue Instanz:
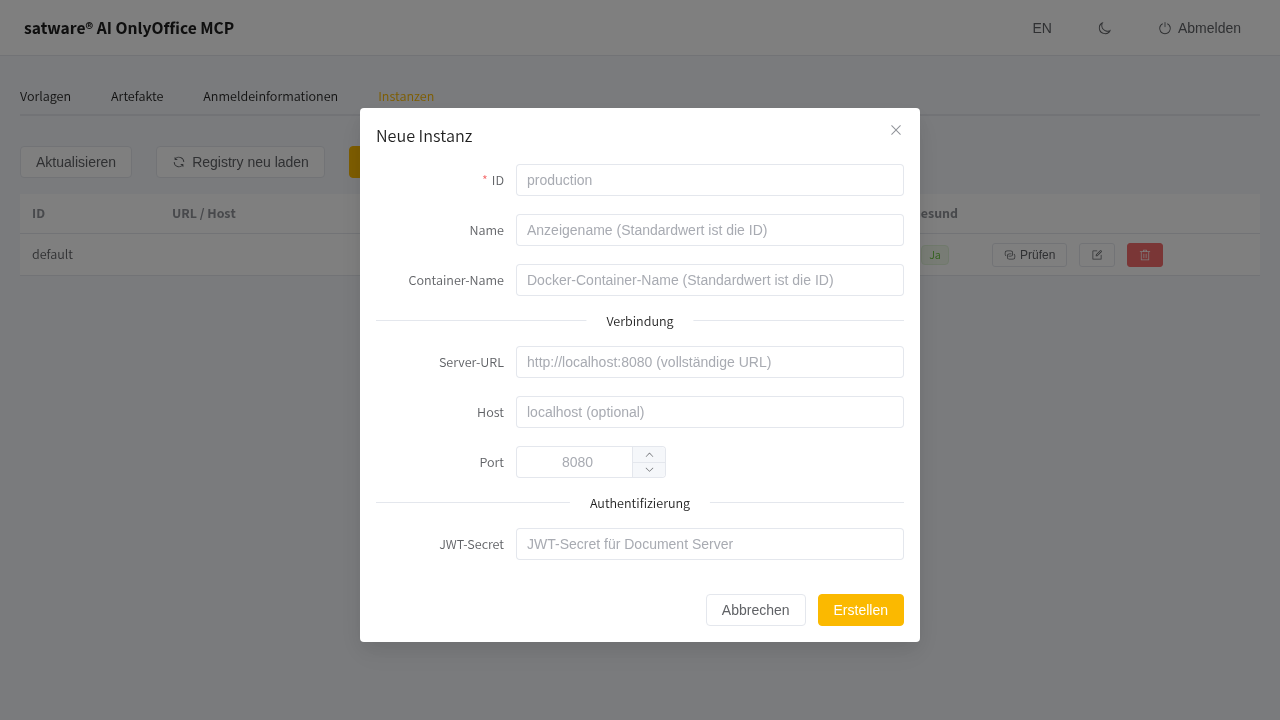
Felder:
- ID: Eindeutiger Bezeichner (z.B.
production) - Name: Anzeigename
- Container-Name: Docker-Container-Name
- Server-URL: Volle URL (z.B.
http://localhost:8080) - Host: Hostname (Alternative zur Server-URL)
- Port: Portnummer (1-65535)
- JWT-Secret: Document Server JWT-Geheimnis
Dark Mode
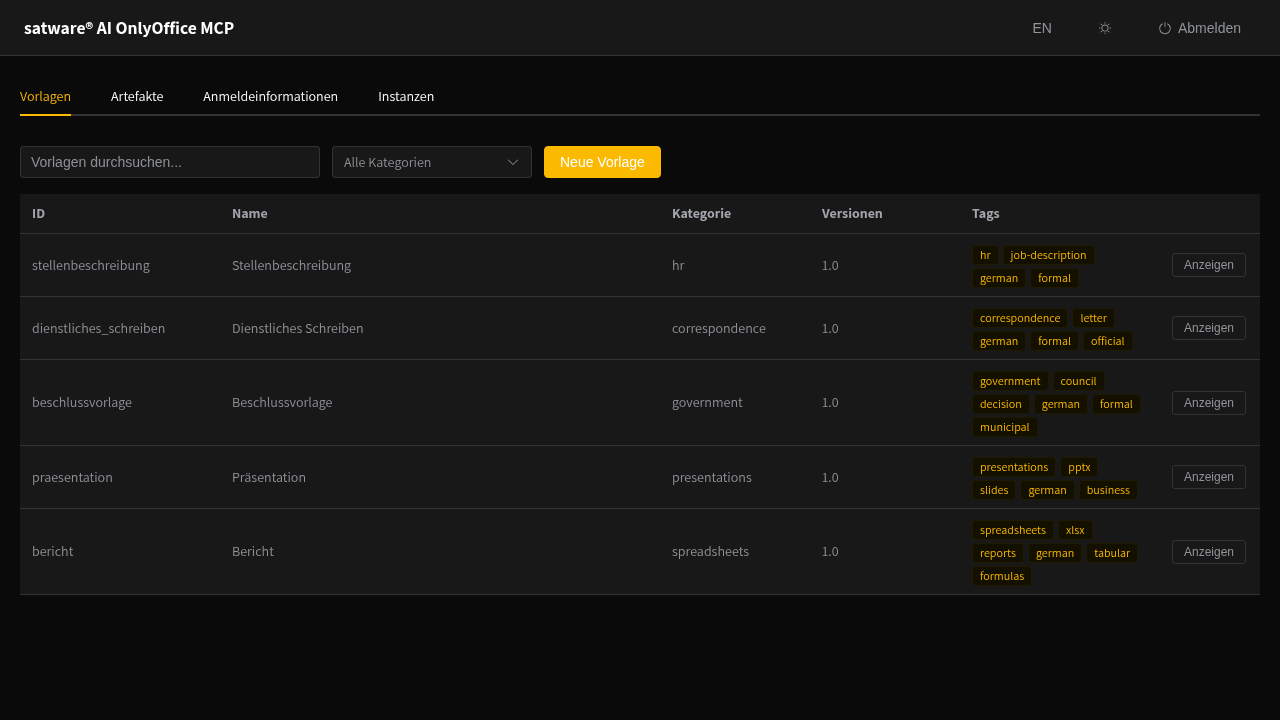
Abschnitt betitelt „Dark Mode“Klicken Sie auf das Mond-/Sonnen-Icon im Header, um den Dark Mode umzuschalten:
Verwandte Themen
Abschnitt betitelt „Verwandte Themen“- Installation - Server einrichten
- Architektur - Systemdesign-Übersicht
- Tools-Referenz - Alle 26 MCP-Tools
- Add-On-Authoring-Guide - Vorlagen mit Add-On-Packs erweitern